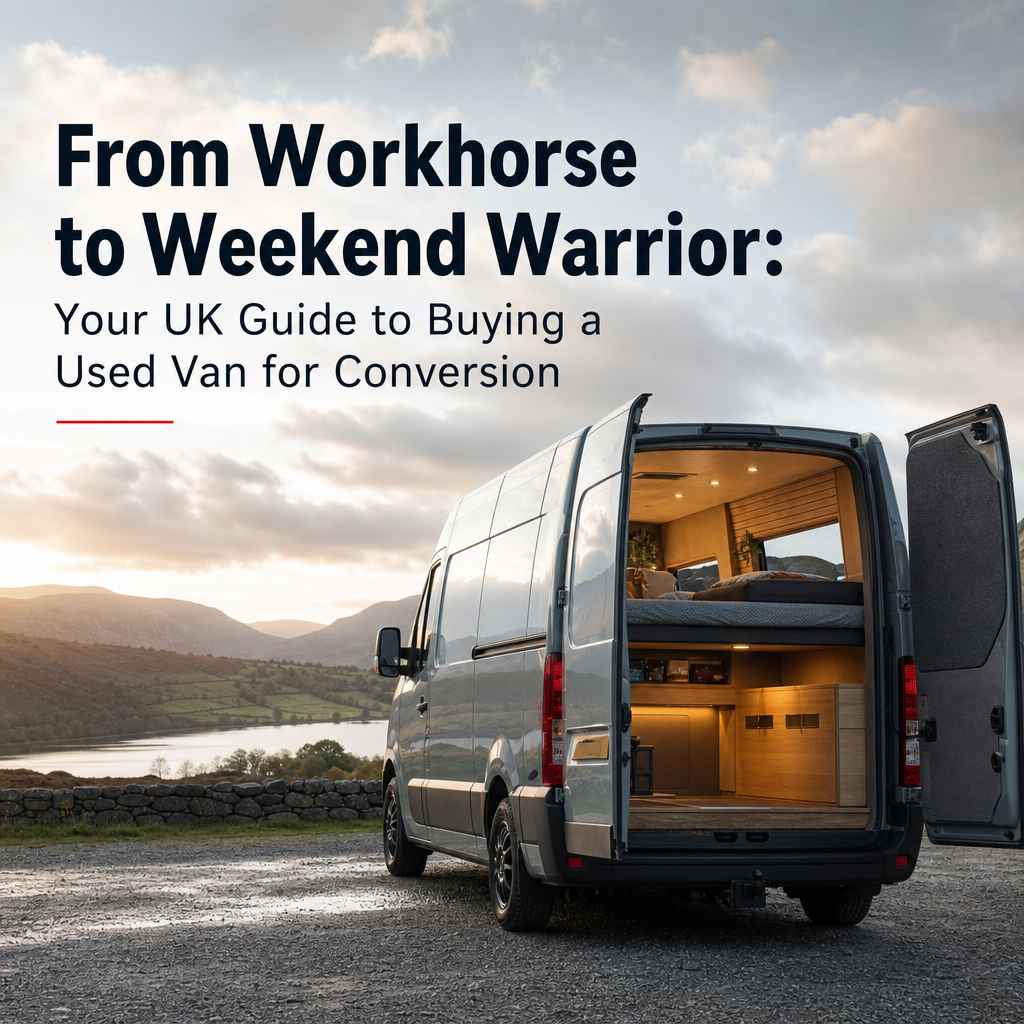
From Workhorse to Weekend Warrior: Your UK Guide to Buying a Used Van for Conversion
The dream of hitting the open road, waking up to a new view, and having your home on wheels is more accessible than ever. For many across the UK, a used panel van offers the perfect blank canvas for creating that dream campervan or day van. But transforming a commercial workhorse into a comfortable weekend warrior – or even a full-time home – requires careful planning and a keen eye during the purchase process. Here at CarsLink.ai, we’re here to guide you through the practical considerations, ensuring your conversion project starts on the right set of wheels.
1. Laying the Foundations: Key Structural and Mechanical Considerations
Before you even pick up a tape measure for your interior layout, the fundamental structure and mechanics of your prospective van are paramount. This isn't just about aesthetics; it's about safety, reliability, and the sheer practicality of your future rolling abode.
Firstly, size truly matters. Are you planning short weekend trips, or extended touring adventures? A Short Wheelbase (SWB) such as a Vauxhall Vivaro or Ford Transit Custom offers easier parking and manoeuvrability in tighter British villages, but will limit your interior space. A Medium (MWB) or Long Wheelbase (LWB) like a larger Ford Transit, Mercedes Sprinter, or Fiat Ducato provides much more room for a fixed bed, kitchen, and toilet facilities, but will be trickier to navigate and park. Consider the internal height too – a high-top is often crucial for standing upright, making daily life significantly more comfortable.
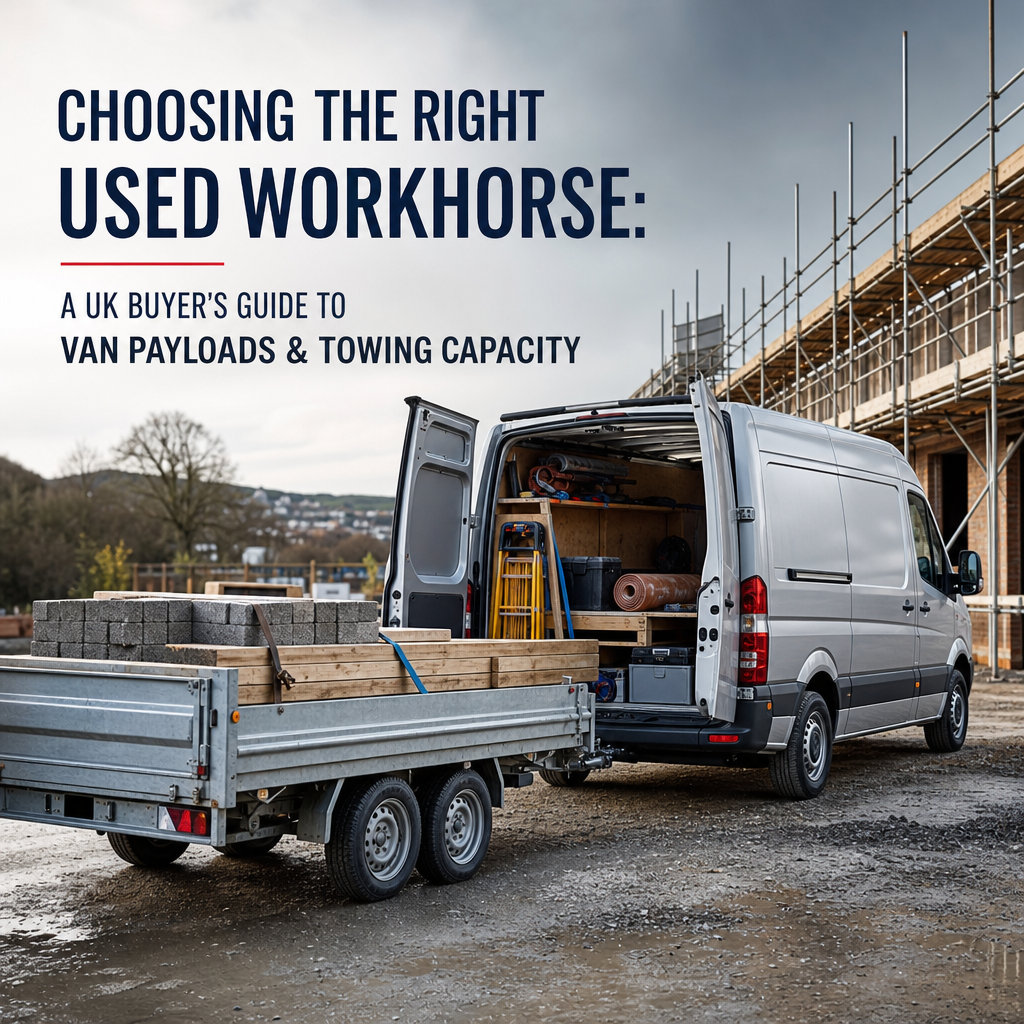
Next, delve into the payload capacity and Gross Vehicle Weight (GVW). Your van's original payload is its maximum carrying capacity, including passengers, fuel, and cargo. When converting, every insulation board, cabinet, water tank, solar panel, and appliance adds weight. Don’t underestimate how quickly this accumulates. Overloading a van is illegal, unsafe, and will negatively impact handling, braking, and fuel economy. Check the van’s original GVW (usually found on a plate inside the door jamb or under the bonnet) and factor in the weight of your planned conversion. Most standard panel vans under 3,500kg GVW can be driven on a standard B licence.
The chassis and suspension are critical. A solid, straight chassis provides a stable base for your conversion. The suspension system, designed for carrying commercial loads, will need to cope with your new, potentially heavier, and differently distributed weight. While many vans handle this well, inspect for signs of wear and tear, especially on leaf springs or shock absorbers. Finally, consider the existing electrics and the ease of integrating your leisure battery system. While you'll likely install a separate 12V system, understanding how to safely tap into the van's charging circuit (via a split-charge relay or DC-DC charger) is essential.
2. The Pre-Purchase Inspection: What Lies Beneath
This is arguably the most crucial stage. A thorough inspection can save you thousands in unexpected repairs and ensure your conversion project isn't built on a crumbling foundation.
Rust is the silent killer of many a conversion dream. Panel vans, often worked hard and parked outside, are highly susceptible. Pay particular attention to:
- Wheel arches and sills: Common areas for corrosion to take hold.
- Door bottoms and seams: Water ingress leads to rust from the inside out.
- Around windows and roof seams: Potential entry points for water, which can cause internal rust and damp issues.
- Undercarriage: Get underneath if you can, or ask a mechanic. Inspect the chassis rails, crossmembers, and floor pan for significant corrosion. A bit of surface rust is common and manageable, but structural rust is a serious red flag.
Beyond rust, assess the chassis and body integrity. Look for signs of previous accident damage or poor repairs: misaligned panels, inconsistent paintwork, excessive filler, or uneven gaps between doors and bodywork. Open and close all doors – they should operate smoothly without sagging. Any evidence of significant structural damage is a deal-breaker, as it compromises safety and can be incredibly difficult and costly to rectify.
Finally, the engine and mechanical health are paramount. A comprehensive service history is gold, indicating diligent maintenance. Listen for unusual noises (knocking, ticking, grinding) during startup and idling. Check for smoke from the exhaust (blue usually indicates oil burning, white could be coolant, black could be fuel issues). Look for fluid leaks under the bonnet and beneath the van. During a test drive, pay attention to:
- Clutch: Is it high, slipping, or juddering?
- Gearbox: Does it select gears smoothly without crunching?
- Brakes: Do they feel strong and even, or spongy/pulling to one side?
- Turbo: Does it spool up correctly without excessive whine or smoke?
- DPF (Diesel Particulate Filter): For newer diesels, check for warning lights indicating a blocked DPF, which can be an expensive repair.
Don't forget to check the condition and age of the tyres for adequate tread depth and even wear, and inspect the brake discs and pads for excessive wear. A pre-purchase inspection by a trusted mechanic is always a wise investment.
3. Navigating Vehicle Classifications and DVLA Re-registration
Once your conversion is underway or complete, understanding vehicle classifications is crucial for insurance and legal compliance. Most panel vans start life classified as N1 (Light Goods Vehicle). After conversion, you may wish to re-classify it as a "Motor Caravan" (M1) with the DVLA.
To re-register as a Motor Caravan, your vehicle must meet specific DVLA criteria, demonstrating that it has been substantially modified for living accommodation. These typically include:
- A fixed bed: Not just a mattress on the floor, but a permanent sleeping area.
- Cooking facilities: Permanently fixed, often a hob and sink unit.
- Storage facilities: Fixed cupboards or lockers.
- Seating and a table: Permanently fixed, even if the table is removable.
- At least one window in the living area.
- Ventilation: Such as a roof vent or opening windows.
The benefits of re-classification can include specialist motor caravan insurance, which is often more appropriate and sometimes cheaper than standard van insurance, acknowledging the vehicle’s new purpose and value. While the historical speed limit differences for vans have largely been harmonised for those under 3,050kg unladen weight (meaning most converted panel vans follow car speed limits), a Motor Caravan classification can offer advantages with ferry companies, toll roads, and access to certain campsites.
Crucially, you must inform your insurance provider of your conversion plans and the completed status. Failure to do so could invalidate your policy. Many mainstream insurers won't cover converted vans, so be prepared to approach specialist motor caravan insurers who understand the unique risks and valuation. The MOT test remains largely the same, but any structural modifications must be safe and professionally executed.
4. The Budget Balancing Act: Van Cost vs. Conversion Project
It's easy to get swept away by inspiring images on social media, but maintaining a realistic budget is key to a successful and enjoyable conversion. Your total expenditure will be a delicate balance between the initial cost of the van and the subsequent conversion budget.
An older, cheaper van (e.g., under £5,000) might seem appealing initially, leaving more money for the conversion itself. However, these often come with higher mileage, more wear and tear, and a greater risk of requiring significant mechanical repairs down the line. An extra £1,000-£2,000 spent on a more reliable, well-maintained van at the outset could easily save you double that in garage bills and headaches during your build. Aim for the best condition van you can afford within your budget.
Your conversion costs will also vary wildly depending on your approach:
- DIY vs. Professional: Undertaking the conversion yourself will save significantly on labour costs but requires time, tools, and a reasonable level of DIY skill. Hiring professionals for parts of the build (e.g., electrics, gas installation, window fitting) ensures safety and quality but will naturally increase costs.
- Materials: Plywood and off-the-shelf cabinets are more budget-friendly than custom lightweight composites or high-end bespoke joinery. Similarly, insulation choices range from cheap rockwool to expensive but highly effective closed-cell foam.
- Appliances: New, branded campervan appliances (fridges, hobs, heaters) are an investment. Second-hand components or adapting domestic alternatives can save money, but always prioritise safety, particularly with gas and electrical installations.
Don't forget to factor in hidden costs: tools you'll need to buy, consumables (screws, glues, sealants), and those inevitable unexpected issues that arise during a project of this scale. A contingency fund of 10-15% of your total budget is highly recommended.
Finally, consider resale value. A well-executed, safe, and attractive conversion using quality materials will command a significantly better resale price than a rushed, poorly finished job. Investing a little more upfront in a solid van and a thoughtful conversion can pay dividends in the long run.
Conclusion
Transforming a used van into your dream camper is an incredibly rewarding journey, opening up a world of adventure right here in the UK and beyond. By diligently researching your preferred van model, conducting a thorough pre-purchase inspection, understanding the legalities of re-classification, and budgeting wisely, you'll lay the strongest possible foundation for your mobile sanctuary.
Ready to embark on your conversion adventure? Start your search for the perfect blank canvas today on CarsLink.ai, where you’ll find a fantastic selection of used vans just waiting for their next chapter. Happy building!