Picture Perfect: Elevating Your Used Car Listings with Pro Photography Tips for UK Dealers
In today's fast-paced digital marketplace, a picture truly is worth a thousand clicks – and potentially, a thousand pounds. For UK used car dealers, your online listings on platforms like CarsLink.ai are your virtual showroom. While compelling descriptions and competitive pricing are vital, it's the quality of your photography that first captures a buyer's attention, builds trust, and ultimately drives that all-important enquiry.
Think about it: when potential buyers are scrolling through hundreds of vehicles, what makes one stand out from the crowd? It's not the blurry, poorly lit shot taken at dusk, nor the car obscured by a cluttered background. It's the crisp, well-composed image that showcases the vehicle in its best light, highlighting its features and giving a genuine sense of its condition. Investing a little time and effort into your photography isn't just an option; it's a strategic necessity that can significantly elevate your sales performance and streamline the buying process.
The Undeniable Power of Visuals: Why Photos Make or Break a Sale
In the UK, over 80% of car buyers start their journey online. Before they even read a single word of your carefully crafted description, they’re making snap judgments based purely on imagery. High-quality photos act as your primary salesperson, silently communicating professionalism, trustworthiness, and the true value of the vehicle.
Consider the stark contrast: a listing with three dark, grainy photos taken from awkward angles versus one boasting twenty bright, detailed shots that showcase every interior nuance and exterior curve. Which one inspires confidence? Which one makes the buyer feel like they already know the car? The latter, every time. Excellent photography builds immediate rapport, reduces the need for endless questions, and dramatically increases click-through rates and enquiries. It sets realistic expectations, reducing time-wasting viewings and helping you close sales more efficiently. On platforms like CarsLink.ai, where every listing competes for attention, stellar visuals are your unfair advantage.
Gear Up: Equipping Yourself for Quality Shots
You don't need a professional studio setup to take fantastic car photos, but a little investment in the right gear – or smart use of what you already have – goes a long way.
Smartphones vs. Budget DSLR/Mirrorless: Modern smartphones, such as the latest iPhone models or Samsung Galaxy S series, boast incredibly capable cameras. They're convenient, always to hand, and can produce excellent results in good lighting conditions. Their computational photography features often do a great job of optimising images automatically. However, they can struggle in low light or with complex lighting scenarios, and offer less manual control over aspects like aperture and shutter speed.
For those looking for more control and superior image quality, an entry-level DSLR or mirrorless camera (e.g., Canon EOS 2000D, Nikon D3500, Sony Alpha a6000) paired with a versatile kit lens (like an 18-55mm) is a worthy investment. These cameras offer larger sensors, better low-light performance, and the ability to control depth of field, giving that pleasing blurred background effect that makes your car pop.
Lighting Solutions: Natural light is your best friend. A slightly overcast day provides soft, even illumination that minimises harsh shadows and reflections. If shooting indoors or on a sunny day, avoid direct, harsh sunlight, which creates blown-out highlights and deep shadows. For indoor shooting or to fill shadows, a portable LED panel can make a huge difference, or even a simple white reflector to bounce available light back onto the car. Never use your camera's direct flash as it creates unflattering hotspots and harsh shadows.
Essential Accessories: A sturdy tripod is invaluable for achieving sharp images, especially in lower light. A good quality microfibre cleaning cloth for your lens will ensure every shot is crystal clear. Consider a portable jump starter if you want to ensure interior lights and infotainment screens are illuminated for photos without risking battery drain.
Mastering the Angles: What to Shoot and How
Variety and detail are key. Aim for at least 15-20 high-quality photos per vehicle, covering all angles and key features.
Exterior Shots:
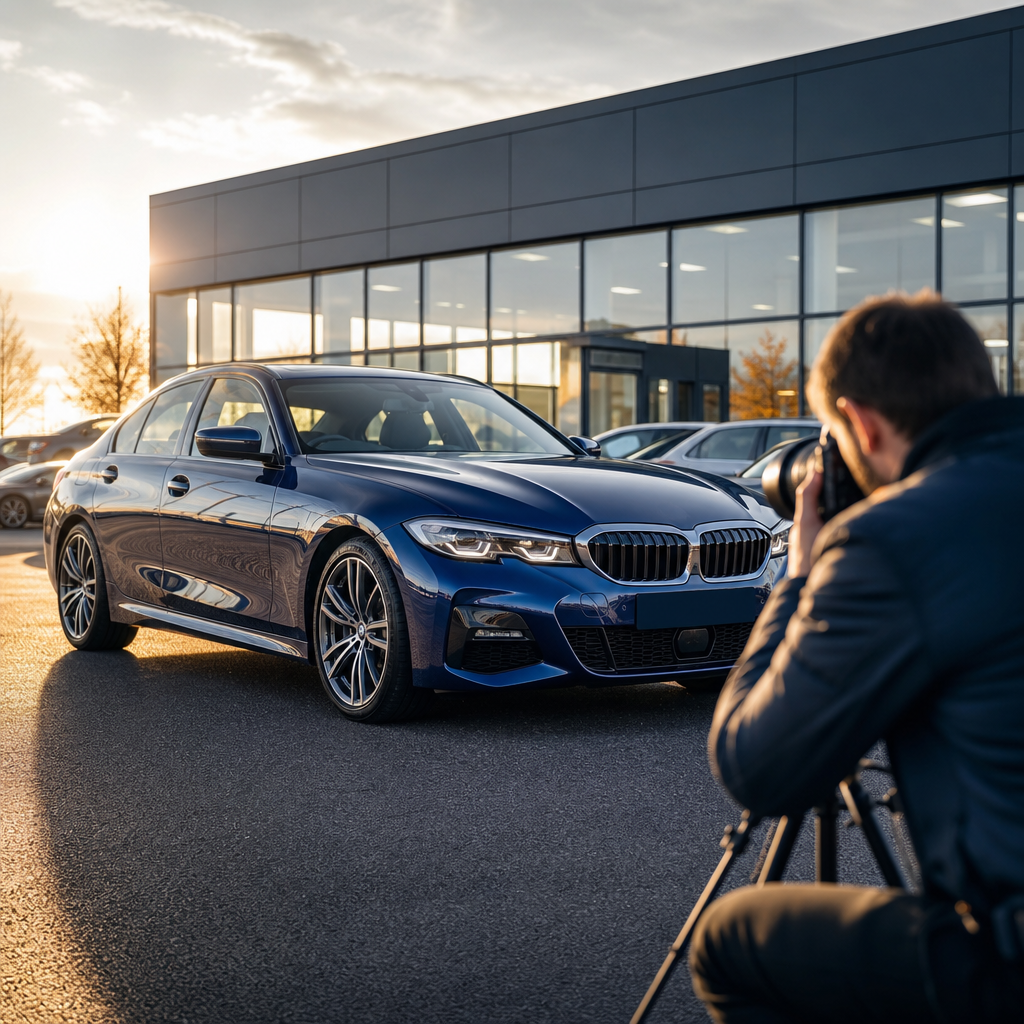
- Front Three-Quarter: The classic hero shot. Position the car with the front and one side visible (typically the driver's side for RHD vehicles). Turn the front wheel slightly towards the camera for a dynamic look.
- Rear Three-Quarter: Similar to the front, showing the rear and opposite side.
- Direct Front & Rear: Straight-on shots to capture the full design.
- Side Profile: Both sides, ensuring the car is level and fills the frame.
- Wheel Close-ups: A clear shot of all four alloy wheels, highlighting their condition (and any damage – see below).
- Bonnet Up: If the engine bay is pristine, a shot showcasing it can add value.
Interior Shots:
- Dashboard Overview: From the passenger seat, encompassing the steering wheel, instrument cluster, and infotainment system.
- Driver's Cockpit: A closer shot of the steering wheel, gear selector, and central console.
- Front Seats: Show the upholstery, condition, and any special features (e.g., electric adjustment, heating buttons).
- Rear Seats: Demonstrate space and condition.
- Boot Space: Open the boot and show the cargo area, perhaps with a measuring tape if it's a key selling point.
- Key Features: Infotainment screen in action, climate controls, unique trim, panoramic sunroof, digital dash displays etc.
Transparency is Key: Documenting Imperfections: Honesty builds trust. Don't hide minor scuffs, stone chips, or alloy damage. Instead, take clear, well-lit close-up photos of any imperfections. This manages buyer expectations, reduces time-wasting during viewings, and reinforces your credibility. A buyer who sees minor damage documented upfront is far less likely to feel misled.
Pre-Shoot Prep & Staging: Setting the Scene for Success
Even the best camera can't magically make a dirty car look good. Preparation is paramount.
Cleaning is Non-Negotiable: This is the most crucial step. A sparkling clean car screams quality.
- Exterior: Wash, polish, and wax the car. Dress the tyres for a deep black finish. Clean all windows and mirrors until they gleam.
- Interior: Vacuum thoroughly, wipe down all surfaces, clean carpets, and ensure no rubbish or personal items are left behind. Air fresheners are fine, but remove visible ones for the shoot. Turn on interior lights and infotainment screens if applicable.
Staging for Success:
- Background: Choose a neutral, uncluttered background. A plain wall, an open outdoor space away from other cars, or even a clean patch of tarmac works wonders. Avoid busy car parks, unsightly bins, or anything that distracts from the vehicle.
- Lighting & Time of Day: As mentioned, a slightly overcast day is ideal. If sunny, shoot in the late morning or late afternoon when the sun is lower, providing softer light. Avoid midday sun, which creates harsh shadows and reflections.
- Car Positioning: Park the car straight and level. As mentioned, a slight turn of the front wheel towards the camera can add dynamism. Ensure all doors, bonnets, and boots are properly closed unless you're specifically showing an open feature.
- Fuel Gauge: For interior shots, having a respectable amount of fuel visible on the gauge can subconsciously convey that the car is ready to go.
Basic Editing: Enhancing, Not Deceiving
Post-production isn't about hiding flaws; it's about refining your images to look their best and accurately represent the vehicle.
Purpose of Editing: To correct minor exposure issues, improve clarity, and ensure colours are true-to-life. It's about enhancing the appeal without misrepresenting the car's actual condition.
Accessible Tools: You don't need expensive software. Smartphone apps like Snapseed, Adobe Lightroom Mobile, or even your phone's built-in editor offer powerful tools. On a desktop, GIMP is a free, capable alternative, or online editors like Photopea.
Key Adjustments:
- Cropping & Straightening: Ensure horizons are level and the car is perfectly framed, removing any distracting elements.
- Brightness & Contrast: Adjust to ensure the car is well-exposed, with clear detail in both bright and dark areas.
- White Balance: Crucial for accurate colour representation. Ensure whites are white and colours aren't skewed green or blue.
- Sharpening: A subtle application can add crispness and detail, but don't overdo it.
- Highlight & Shadow Adjustment: Recover detail in areas that might be too bright (highlights) or too dark (shadows).
Ethical Considerations: This is paramount. Never edit out damage, misrepresent the car's colour, or alter odometer readings. Transparency builds enduring trust, whereas deceit, even minor, erodes it instantly. Your goal is to present the car clearly and honestly, not to create a misleading illusion.
Conclusion
In the competitive UK used car market, your online presence is your shop window. By adopting a professional approach to your photography – from meticulous preparation and thoughtful staging to mastering angles and ethical editing – you can transform your listings from overlooked to outstanding. High-quality images don't just look good; they work hard, attracting more discerning buyers, generating more genuine enquiries, and ultimately, boosting your sales.
Invest in your listings on CarsLink.ai. Invest in your photography. It’s an investment that pays dividends in reputation, efficiency, and profits. Make every pixel count.